Cherry Pie Bars
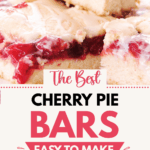
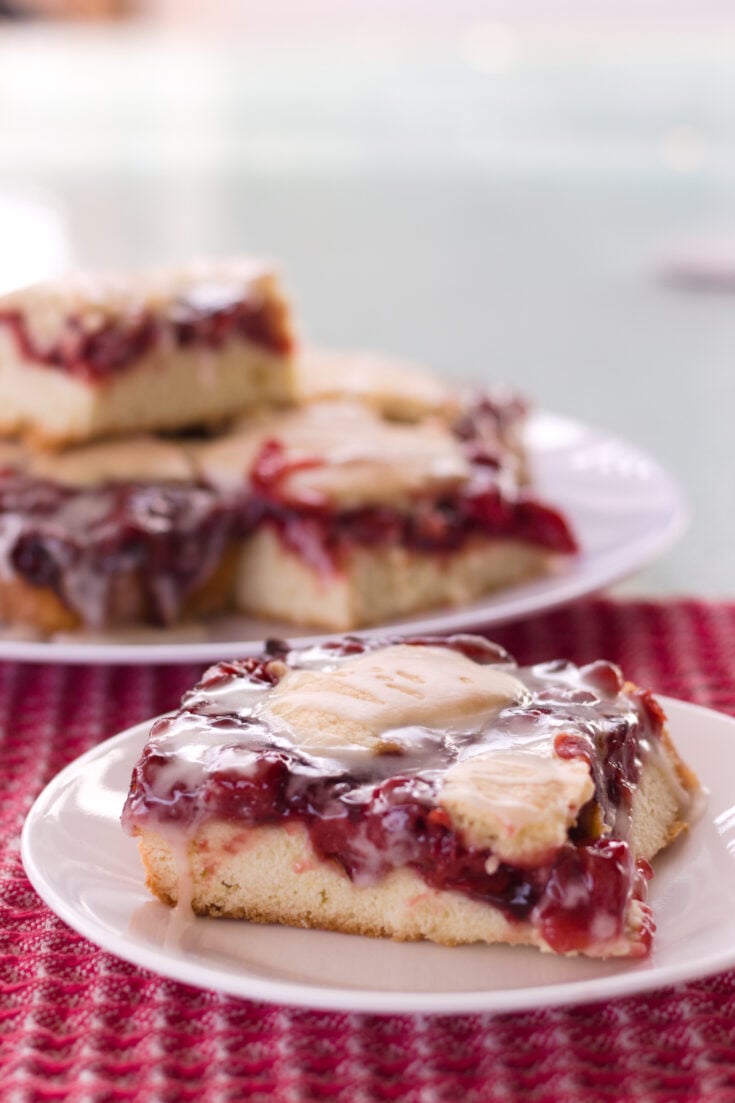
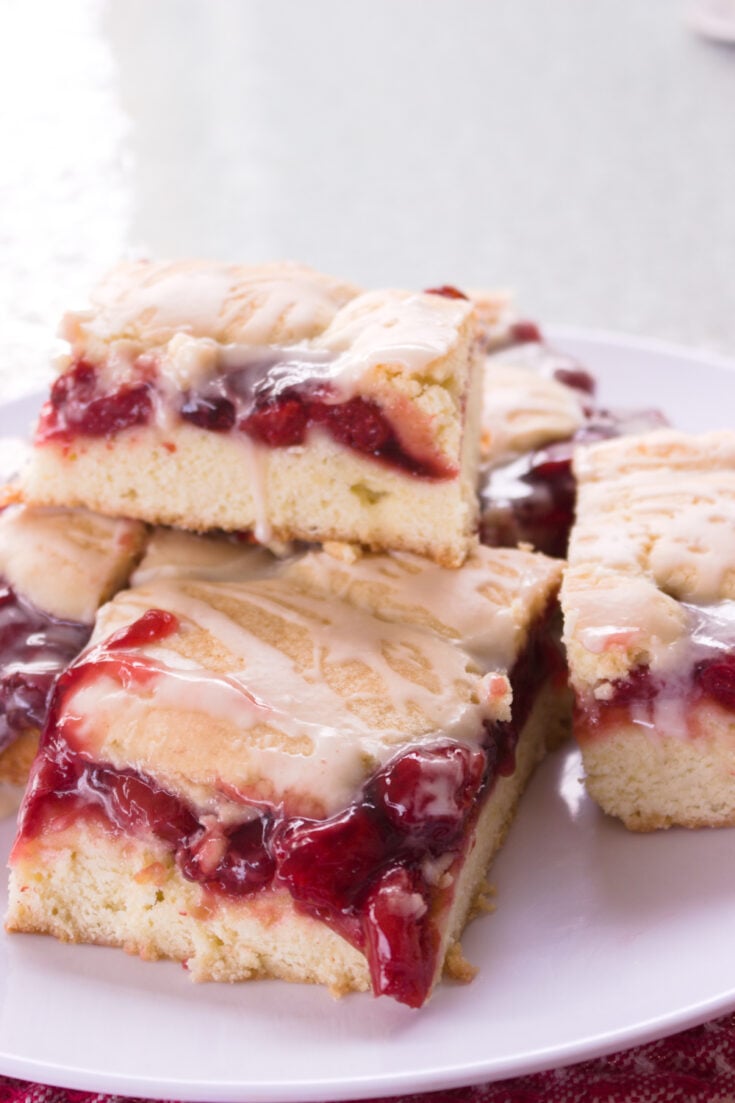
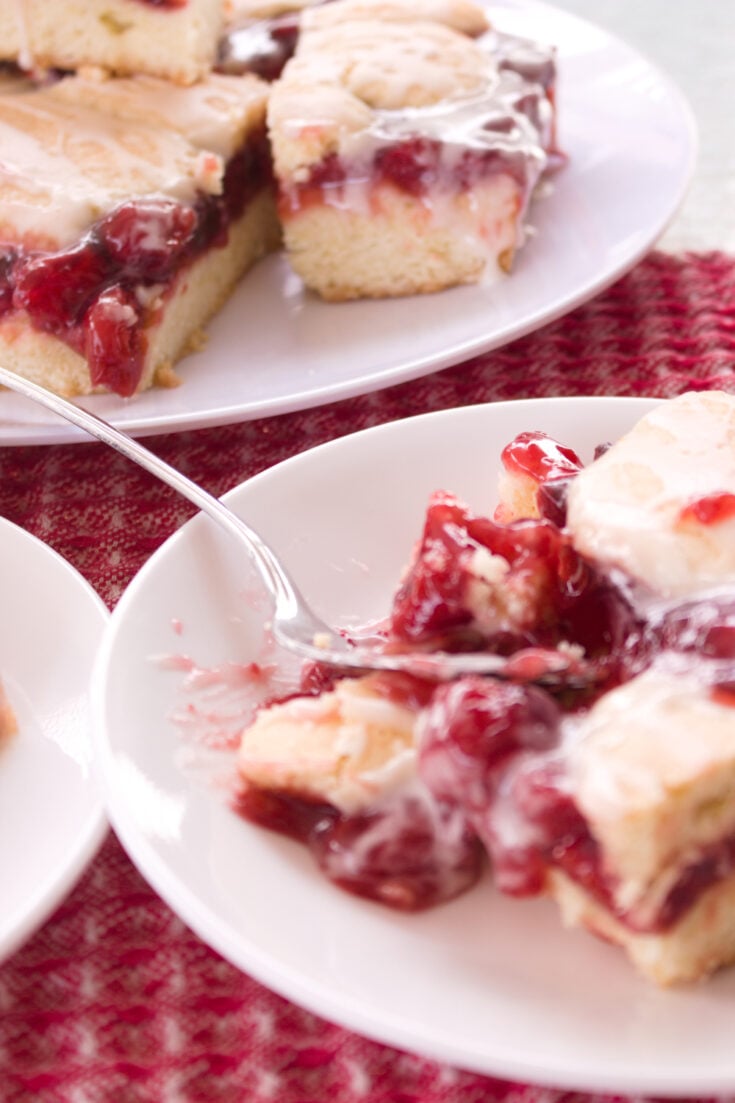
If you love cherry pie but don’t want to fuss with rolling out pie dough, these Cherry Pie Bars are the easier way to get that sweet cherry pie flavor. They bake in a 9×13 pan with a soft buttery base, cherry pie filling, more delicious pie dough on top and a simple glaze. It’s the kind of old-fashioned dessert that’s easy to slice, easy to share, and perfect for potlucks, family dinners, or anytime you need a simple cherry dessert.
At a glance…
🍒 Main Ingredient: Cherry pie filling
Recipe Style: 9×13 dessert, one-pan dessert, cherry dessert bars
Time
Prep: 15 min
Bake: 35-40 min
Difficulty
Easy
Makes
12-16
bars
Best For
Potlucks, holidays, family dinners, bake sales, and easy make-ahead desserts

Ingredients you will need:
- Powdered sugar
- All purpose flour
- Large eggs at room temperature
- Cherry pie filling
- Vanilla extract
- Almond extract
- Sugar
Why Bake These in a 9X13 plan?
Now we make our cherry pie bars in a 9 x 13 pan.
- even baking
- easy slicing
- great for gatherings
I love my 9 X 13 pan because it has a snap on lid – a perfect airtight container for travelling to that picnic!
5 tips for making the best cherry pie bars
- You can serve your Cherry Pie Bars at room temperature – no need to refrigerate! (but don’t leave them out in the sun either – 🙂
- Bake the bars until they are a golden brown on top
- Use a large bowl when you cream the butter with your electric mixer so that there’s lots of room for the dry ingredients
- Spoon the bottom crust into a prepared pan. You can line your pan with parchment paper too, but I find the old fashioned way to grease and flour the cake pan works best
- Cool the bars completely on a wire rack before adding the Glaze
Serve your bars with a big ole scoop of ice cream! A yummy dessert without all the fuss of baking fruit pies.
Watch me make these Cherry Pie Bars!

Helpful Information
Time Saver Tip:
Get all of your ingredients ready before you bake. Take the time however to sift your flour (you will be so glad you did!)
Want more delicious cherry desserts?
- Cranberry Cherry Tarts
- Grandma’s Cherry Pie
- Cherry Pie Cookies
- No Bake Cherry Cheesecake
- Easy Desserts Hub
- Seasonal Celebrations
Serving Ideas
Here’s a few ways to enjoy your amazing Cherry Pie Bars:
- Serve warm with the best vanilla ice cream
- Place a bowl of freshly whipped cream along side them
- Slice the bars into smaller squares for parties or potlucks
Final Thoughts
These Cherry Pie Bars are such a simple way to enjoy all the flavor of cherry pie without making a traditional pie crust. They bake beautifully in a 9×13 pan, slice into easy-to-serve squares, and the sweet glaze on top makes them feel just a little extra special.
They’re perfect for potlucks, holidays, family dinners, or anytime you need an easy cherry dessert that tastes homemade. If you love old-fashioned desserts that are simple to make and easy to share, this is a recipe you’ll want to keep close.
Until next time,
Grandma Judy

Easy Cherry Pie Bars Recipe That Will Feed a Crowd
Pin Recipe
Click to Rate!
Equipment
Ingredients
BARS
- 1 cup butter - softened
- 1.75 cups sugar
- ½ teaspoon salt
- 4 large eggs - room temperature
- 1 teaspoon vanilla extract
- 1/4 teaspoon almond extract* - optional, see note below
- 3 cups all-purpose flour
- 2 cans - 18 ounces each cherry pie filling
GLAZE:
- 1 cup confectioners’ sugar
- 1/2 teaspoon vanilla extract
- 1/2 teaspoon almond extract
- 2 to 3 tablespoons milk
Instructions
- Preheat oven to 350F
- In a large bowl cream the butter and sugar using an electric mixer
- Add the eggs one at a time & the vanilla extract and almond extract
- In a separate medium bowl sift the flour
- Gradually add the flour mixture to the wet mixture
- Mix on medium speed until well blended
- Spread 2/3 of the batter evenly on the bottom of a prepared 9×13 cake pan
- Spoon on the cherry pie filling – make sure it is evenly spread.
- Top the pie filling with the remaining batter by spoonfuls
- Bake 40 to 45 minutes (start with 40 minutes)
- While the bars are cooling on a wire rack, mix up the Glaze.
- Add 2 tbsp of cream first to see what the texture is. You want the glaze to be a bit runny.
- Then add the 3rd tbsp. but only if you need it.
- Spread it quickly across the top of the cooled bars.
- Refrigerate until ready, then slice and serve!
VIDEO
Notes
Nutrition
These are estimated values generated from a nutritional database using unbranded products. Please do your own research with the products you’re using if you have a serious health issue or are following a specific diet.
Judy Kahansky
Judy Kahansky is an experienced writer and baker, creating delicious desserts (including pie!) for over 40 years. She loves to take classic and vintage recipes and update them to fit the busy lives of her readers. When not baking, Judy and her husband Mark are passionate golfers, enjoy the simple life, and are travelers and dog lovers, spending as much time as they can with their sweet pup Ruby.


These were REALLY good. Because I was making these for a small group, I decided to halve the recipe (7 x 11 pan) and left out the almond extract since my mom isn’t a fan. I did make these full amount of glaze though! Next time I make them I will make the full recipe, include the almond extract, add more cherry pie filling (we like a LOT of cherries! 😁), and double the glaze.
This recipe was easy, the texture of the crust/bottom was perfect, and everyone loved them. Thanks for my new favorite cherry pie bar recipe!
That’s awesome Vicki! Thanks so much for the feedback. I love that you are tweaking the recipe too. I agree with your Mom, almond extract isn’t for everyone and a little goes a long way! Happy baking!