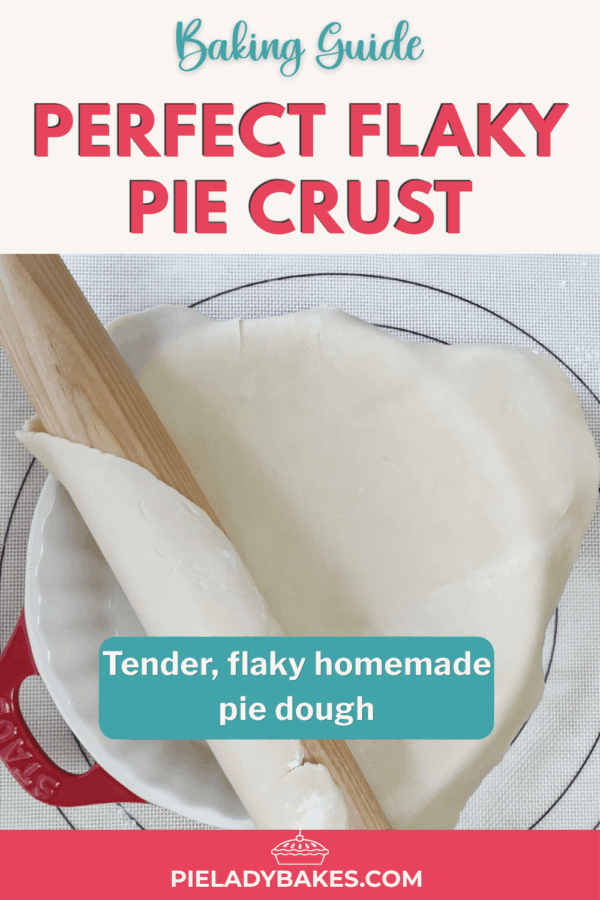
Perfect Flaky Pie Crust
A perfect flaky pie crust doesn’t need to be complicated. With cold butter, a light hand, and a little time to chill, you can make homemade pie dough that bakes up tender, golden, and full of those beautiful flaky layers.
This is the pie crust recipe I come back to again and again for fruit pies, cream pies, galettes, quiche, and holiday baking. I’ll walk you through the steps, show you what the dough should look like, and share my best tips so your crust turns out flaky instead of tough.
Perfect Flaky Pie Crust at a Glance
Here’s the quick version before you start baking.
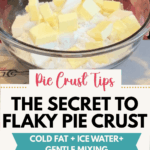
The secret: cold fats (butter & shortening) + ice water + gentle mixing + chilling time.
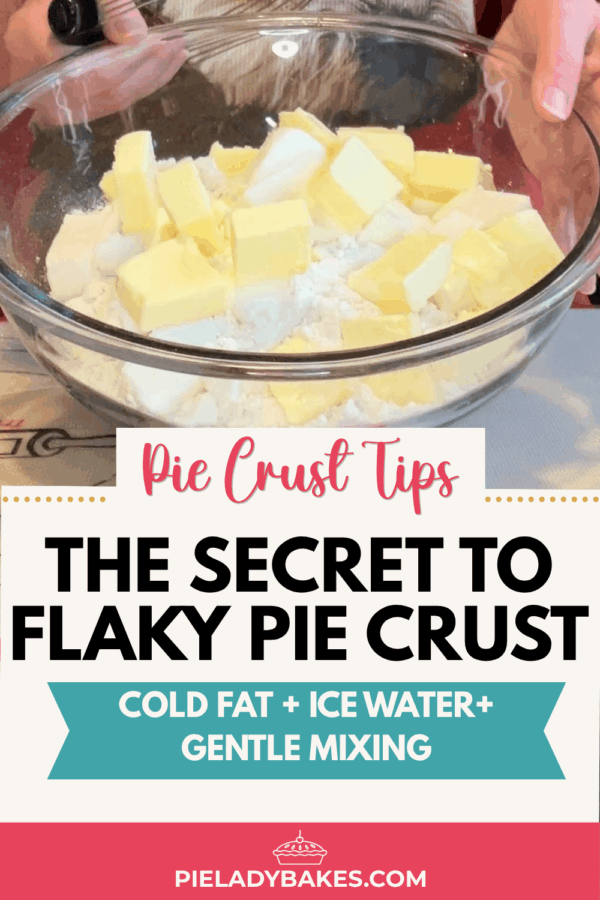
What is the secret to Perfect Flaky Pie Crust?
When I’m asked “What is the secret to flaky pie crust?” My answer is always the same. It’s the blending of the flour and fats, the layering of the pastry, that will give you that buttery flakiness.
The dough should come together, but it should not be overworked. Pie crust likes a light touch, a cool kitchen, and a little time to chill before rolling.
Grandma Judy Tip
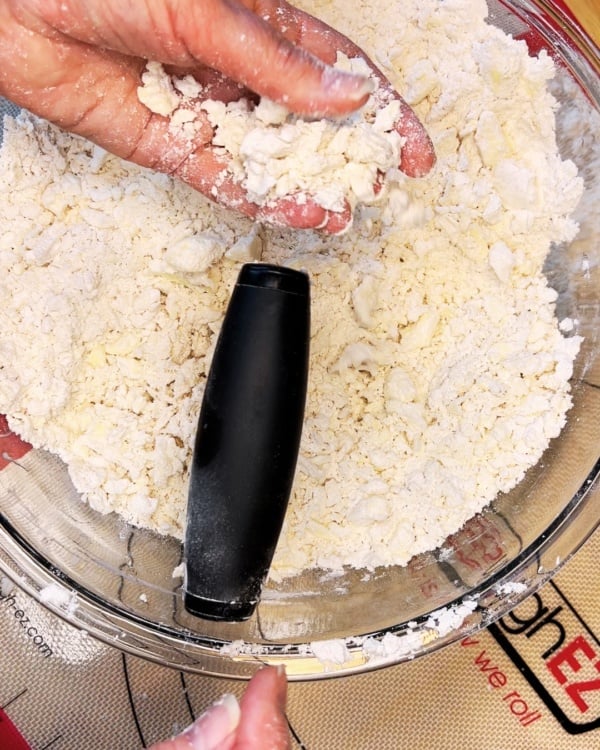
If you can still see little pieces of butter and shortening in the dough, that’s a good thing. Those cold bits are what help your pie crust bake up flaky, tender, and golden.
We’re going to spend some time together. And don’t worry if you don’t have that time right now. You can pin this post to your favorite board for later!
Why You’ll Love This Pie Crust Recipe
- An old fashioned recipe, it uses simple baking ingredients.
- It’s made with both butter and shortening.
- It works for sweet and savory pies.
- It can be made ahead, helping you with your dessert prep.
- It freezes well. I love being able to take pie dough out of the freezer and just bake a pie.
- It’s a reliable pie crust for beginners and experienced bakers. This recipe has been used for more than 50 years!

Judy’s No Fail Perfect Flaky Pie Crust
Pin Recipe
Click to Rate!
Ingredients
- 6 cups flour
- 1 tsp baking powder
- 1 tsp salt
- 1 cup butter - unsalted, cold, cut into small chunks
- 1 cup vegetable shortening - cold, cut into small chunks
- 1 egg
- 1 tablespoon white vinegar
- 1 cup Water - ice cold, enough to fill the cup with the egg and vinegar in it
Instructions
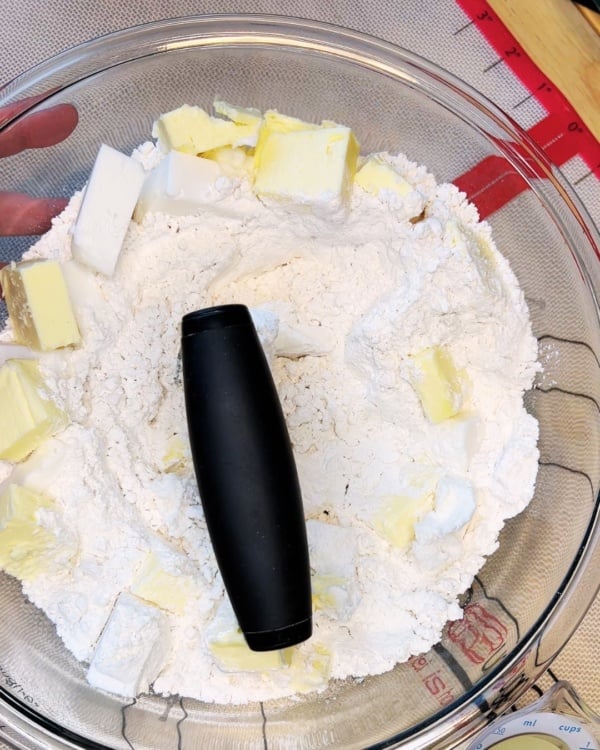
- Mix the flour, salt and baking powder in a large bowl.

- Add the fats, and using a hand pastry blender, mix the flours and fats together.
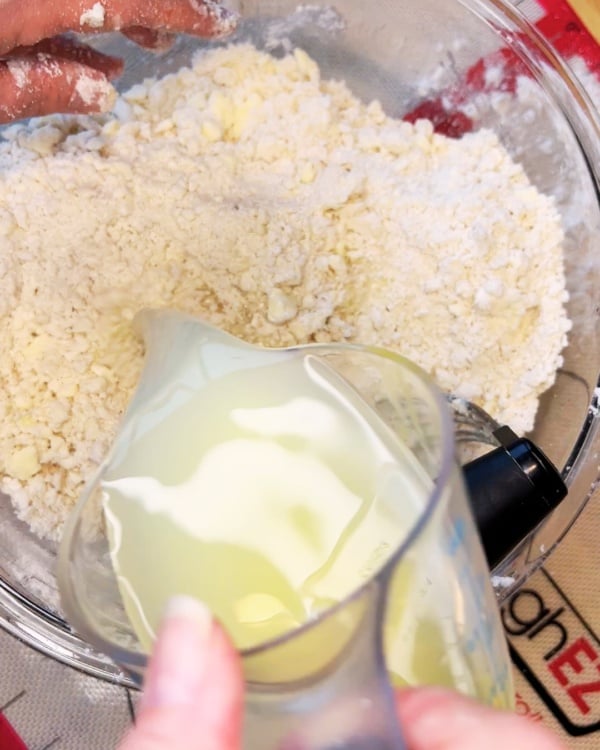
- Whisk the egg in a cup, add the vinegar and enough ice cold water to fill the cup. Pour onto the flour mixture and blend well.
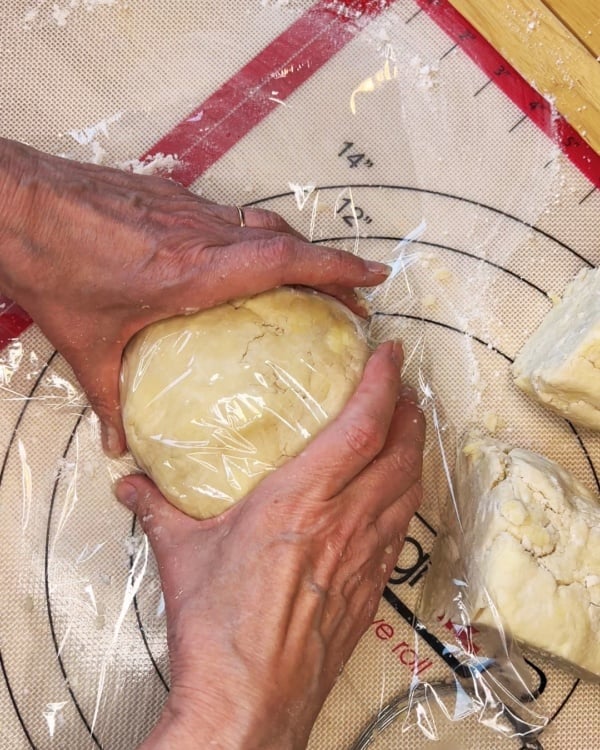
- Shape the pastry dough into 4 evenly shaped balls, wrap them in plastic wrap and place in the refrigerator for at least 30 minutes.
Roll out the Pie Dough – Video Below!
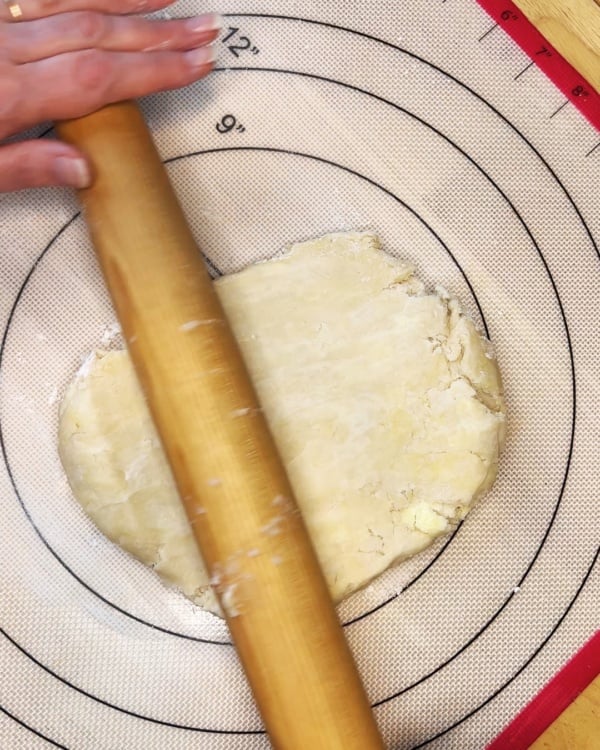
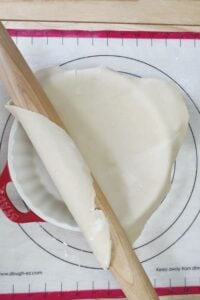
- Using a pastry mat, roll out the dough evenly and until it is the right size to fit your plate.
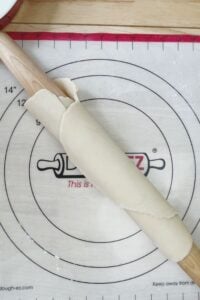
- Wrap the dough around the rolling pin and rest the pin and pastry dough in the middle of the pie plate, in order to centre the pie crust.

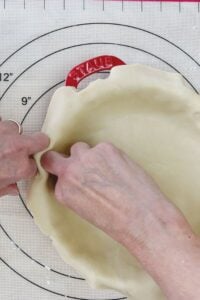
- Unroll the pie crust, gently pushing it into a well greased pie plate,
- Crimp the edges using your knuckles of the index and middle finger on your right hand, and pushing with your third finger on your left. Or vice verse if you are left handed.
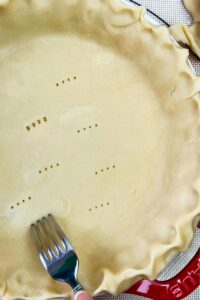
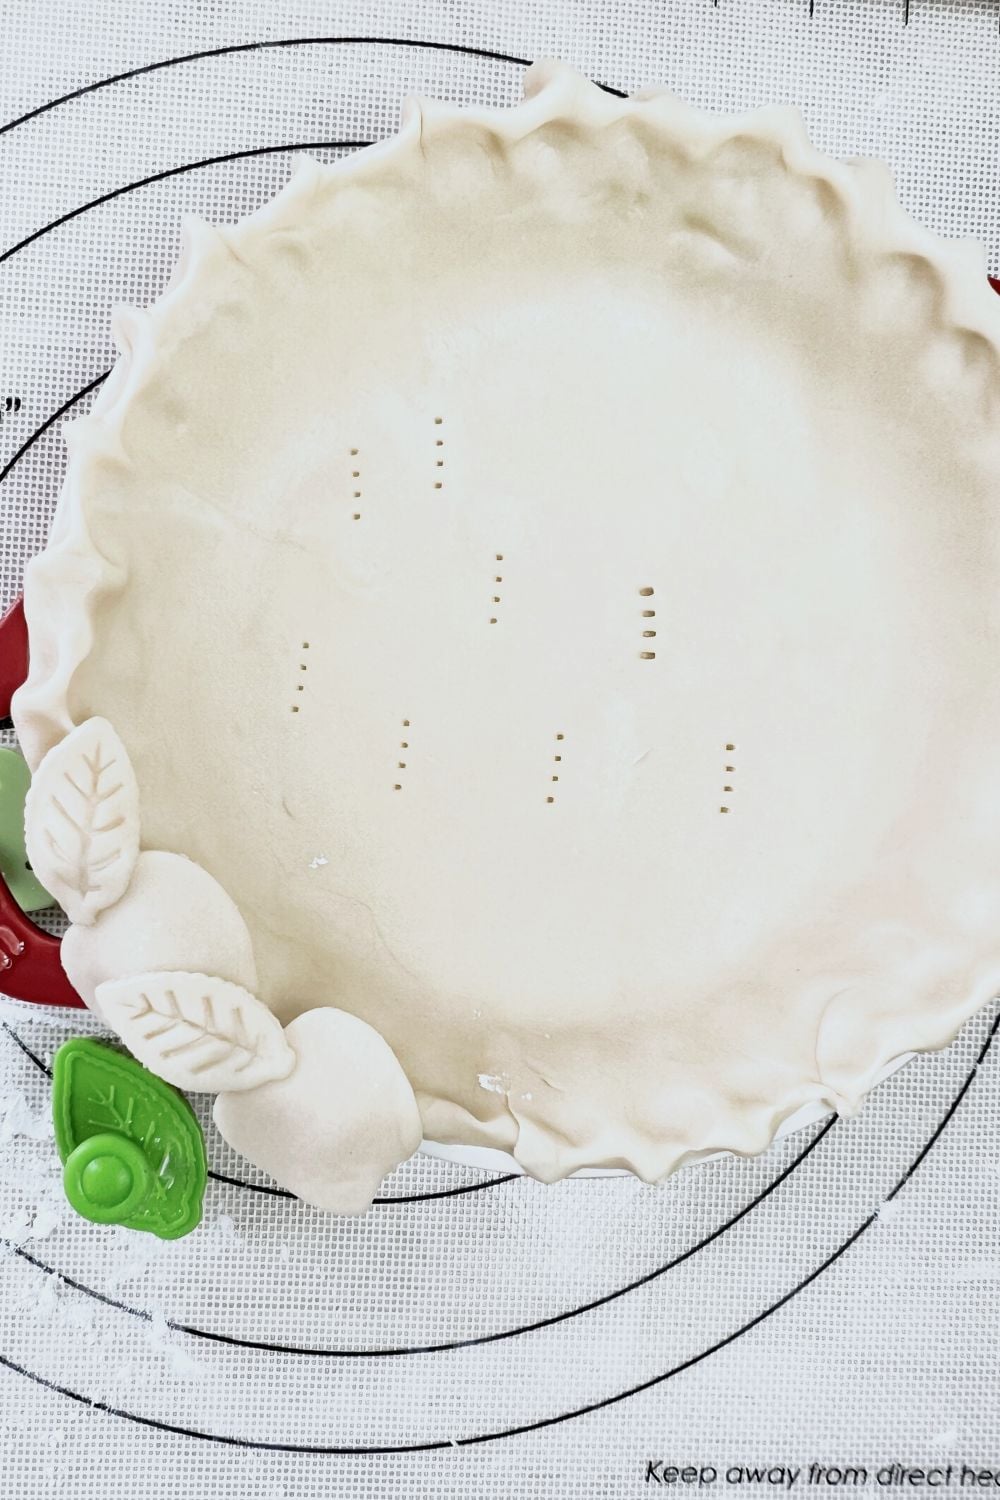
- Prick the bottom crust a few times with a fork.
- Wrap the pie crust in plastic wrap and chill for 30 minutes before baking,
VIDEO
These are estimated values generated from a nutritional database using unbranded products. Please do your own research with the products you’re using if you have a serious health issue or are following a specific diet.
Before You Start: Set Yourself Up for Pie Crust Success
Getting Ready to Bake – It Helps to Stay Organized
When I’m baking I like to measure out all of my ingredients ahead of time and also have all of the baking equipment I will need out and easy to get to. Once we start to mix the pastry dough you don’t want to have to stop and wash your hands to get something out of a drawer or cupboard. And getting ready this way does save time. These tips will really help to make your baking experience enjoyable!
- Have you got a clean counter on which to work? Putting away the clutter will help you to focus on your pie crust.
- Print out your recipe and get out all of the ingredients.
- Make sure you are not being distracted when measuring as measurements must be precise.
- Make sure you have your apron on and oven mitts at the ready.
- It’s also helpful to clear space in your refrigerator. You will need to chill the pastry dough and that requires space in your refrigerator – not a lot, but enough to hold your mixing bowl.
- Before you roll out your pastry dough, get out your pastry mat.
- Get the pie plate ready – by greasing it.
- Once you have the pastry made and in the pie shell, chill it for 30 minutes before using it in your pie recipe.
- And bake with a clean oven. Splatters and baked on food could set off the smoke alarm! I usually line the bottom of my oven with a sheet of aluminum foil to catch any spills.
- Let’s have some fun!
Pie Baking Equipment You’ll Need
This post may contain affiliate links. I only recommend tools I use, love, or would suggest to a home baker learning to make pie crust.
Before we start baking together let’s review the different types of baking equipment I will be using.
1. Measuring cups and spoons – You can never have too many of these! Try to have both clear and plastic measuring cups and a variety of spoons – it’s helpful if the measurements are shown in both metric and imperial.
2. Mixing bowls – stainless steel, glass, ceramic or plastic, in several different sizes. Small ones to measure ingredients into and also very large ones. When we mix the pastry dough by hand, you need a very large mixing bowl – I use it for a variety of things. Try to get one that is at least 4 quart/4.4 liters.
3. Pastry Blender and Pastry cutter – The hand held pastry blenders are easy to find in any kitchen section. I like the ones with the smooth tines – not the razor sharp ones, I think they are safer and easier to handle. A pastry cutter is really handy to trim the pie crust when you are ready to put it in your pie plate, or for making lattice and decorative crusts!
4. Pastry Mat – I’ve only just started to use pastry mat, and let me tell you, it’s a real time saver! There are so many choices, and the ones I prefer have the different sizes of pies stamped on them. As long as it’s plastic and easy for you to clean, you should be fine. The one I use is by Dough-EZ and it’s available in my Pie Lady Bakes Shop on Amazon.
Please don’t be overwhelmed by the equipment list. These are the basics and you will use them for life!
5. Pie Plates – My Go To pie plate is a 9.5”/24.1 cm deep dish pie plate – for both the apple pie and chicken pot pie. It’s made of Pyrex so safe for the oven. It’s also a good idea to have aluminum foil pie plates on hand. They are easy to pop into the oven, or use when you are baking for sale, or potluck! These come in 8”/20.3cm size
6. Rolling Pins – I will be using a traditional french rolling pin, with a medium weight, and the size is 18” long, doesn’t stick and will be perfect for any type of dough you need to roll out. I prefer this type of rolling pin for new bakers, it’s easy on the wrists, and as you gain more experience, you will want to branch out to silicone, stainless steel, or even marble!

7. Oven mitts – for safety’s sake, please use heat retardant oven mitts to protect yourself. There are many varieties on the market, and these ones get great reviews!
8. Apron – a chef’s bib apron is the best choice, that will protect your front, and having a pocket is always nice.
9. Cooling racks and pads – Once your pie is baked and you take it out of the oven, a cooling rack or heat pad is needed to protect the countertops in your kitchen. Pies cool best away from the heat of the oven. Cooling racks and pads come in all shapes and sizes. Get one that is at least 12” X 7” / 30.5cm X 17.5cm.
Get to Know Your Oven
Once your perfect pie crust is made and you are ready to build your pie, it’s time to pre-heat the oven. Check your recipe to see the correct temperature. If your oven doesn’t have a timer, use a small kitchen timer instead, or set the time on your smart phone.
Baking times are usually provided in a range – for example 30 to 40 minutes. That’s because all ovens heat differently due to a number of factors, gas or electric, and including the altitude of where you live! So my approach is to choose the lesser time- in this case 30 minutes and then add time if I need to.
As you become more experienced, you will get to know your oven temperatures and times. And for those of you who are experienced bakers, this is what we call the difference between a ‘fast’ and a ‘slow’ oven.
Unless the recipe instructs differently, always bake your pie in the ‘bottom third’ of your oven. This means when you look at your oven and divide into thirds visually, place the rack in the bottom third – like the picture I have provided below.

It’s usually the second lowest placement, but again all ovens are different. We don’t want to burn the pie, but pies need bottom heat to cook evenly, especially fruit pies. Uneven baking often results in undercooked bottoms and soggy piecrust.
Ingredients for Perfect Flaky Pie Crust
Use the best and freshest ingredients that you can. Making perfect pie crust and pies requires some effort and we want the flakiest pie crust we can bake. So let’s talk about flour and fats – the main two ingredients when making pastry dough, and where short crust pastry originated from.
What Type of Flour is Best for Pie Crust?
There are a few different types of flour to choose from when it comes to making pastry dough. These include All Purpose Flour, Cake and Pastry Flour and Gluten Free Flours.
All Purpose Flour – All-purpose flour is the basic white flour most of us keep in the pantry, and it works well for homemade pie crust. It has enough structure to hold the dough together, but it’s still soft enough to make a tender crust when handled gently.
For pie crust, the type of flour matters because flour contains protein. Higher-protein flours are better for breads because they create a stronger, chewier texture. Lower-protein flours are better for tender baking, like cakes, cookies, biscuits, and pie crust.
That’s why all-purpose flour works nicely here, especially when you keep the butter and shortening cold and don’t overwork the dough. Pie crust likes a light touch.
Cake and Pastry Flour – is made from softer wheat varieties and has very low protein content – about 8%. So this is what I often use when making pie crust.
Note: If all you can buy is All Purpose follow you can add 2 tablespoons of cornstarch to a level cup of all-purpose flour and this will be a good substitute.
Gluten Free Flour – These are relatively new to the mainstream markets, and you can now find blended gluten free flour in your local food store. There are a number of brands out there, and gluten free pastry is discussed in our Facebook group, The Perfect Pies Club. Gluten Free blends do not have wheat gluten in them, so they include starches such as potato starch, tapioca, sometimes buckwheat.
Why This Recipe Uses Butter and Shortening
Fats: Butter, Lard or Vegetable Shortening – what should I use to get perfect flaky pie crust?
The difference between vegetable shortening and lard is that the higher fat content in lard produces flakier pastry, however vegetable shortening tastes more like butter. I’ve used both and really can’t tell the difference. Feel free to experiment with one or the other. The methods for mixing will be the same.
For our recipe below we are using unsalted butter and vegetable shortening (half and half). This pie crust is delicious for both sweet and savory pies and due the animal fat content in butter (from dairy) the piecrust is quite flaky. Again it is all personal preference. I have tried all of them and switch back and forth between butter and vegetable shortening.
Tip: When you mix gluten free pastry dough, use vegetable shortening since it doesn’t produce gluten protein.
Shortcrust Pastry is the professional term used for pastry dough that is used to make pies and tarts. It actually originated with the Romans, when they would mix flour and water together to make a paste and wrap it around meat and bake it.
Why Add Egg and Vinegar to Pie Crust?
I know this might sound a bit strange, however there is some science behind it!
What the Egg Does
The egg helps bind the dough and gives it structure.
What the Vinegar Does
The vinegar helps keep the crust tender. You won’t taste it once the crust is baked.
How to Mix the Egg, Vinegar, and Ice Water
Add the egg and vinegar to a 1-cup measuring cup, then fill the cup with ice-cold water. Whisk together before adding it to the flour mixture.
Bake Better Pies This Week 🥧
If pie crust has ever stressed you out, this little prep kit will make things so much easier.
Inside you’ll find simple guides, checklists, and printable tools that help you organize your baking so pie week feels calm instead of chaotic.
Perfect if you’re baking for holidays, family gatherings, or just because.
Instant download. Start organizing your pie baking today.
How to Roll Out Pie Dough
Now comes the fun part! I really believe that this is the most important part too, where we either end up with flaky pie crust, or a crust that becomes very tough. You’ve seen those pies where people scrape out the filling and leave the crust? That’s so not going to happen here!
Using a pastry mat, roll out your pie crust as shown in the video. Be sure to remember to chill the crust for 30 minutes before filling and baking. Remember we talked about the importance of keeping the dough chilled? Pie dough likes it cool!
Pie Crust Tips & Tricks:
- If you have left your pastry in the refrigerator for longer than thirty minutes – just let it sit until it becomes room temperature, before you start to roll it out.
- Pastry freezes really well, and you can keep pastry frozen for up to a month. Again just take it out and let it thaw – don’t try to heat it up in the microwave.
- Fluting the edge of your piecrust takes a little time and patience – don’t worry about perfection as every pie baked is unique!
- Brushing a wash of egg yolk on the top of your pie crust will result in a lovely golden crust, especially with a two crust pie.
- Sprinkle some granulated white sugar on the crust just as you take it out of the oven. It will stick and add some sugary sweetness.
- Presentation is just as important as taste! Serve your beautiful pie with Whipped cream, ice cream or caramel sauce. Your family and friends will love you for it!
Make Ahead and Freezing Instructions
This pie dough is perfect for making ahead. Shape the dough into disks, wrap tightly in plastic wrap, and then place the dough disks in a freezer bag. You can refrigerate for up to 2 days or freeze for up to 1 month. When ready to use, thaw the dough until it is soft enough to roll, but still cool.
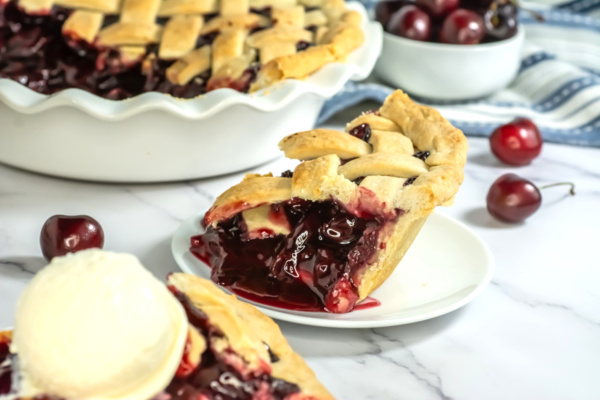
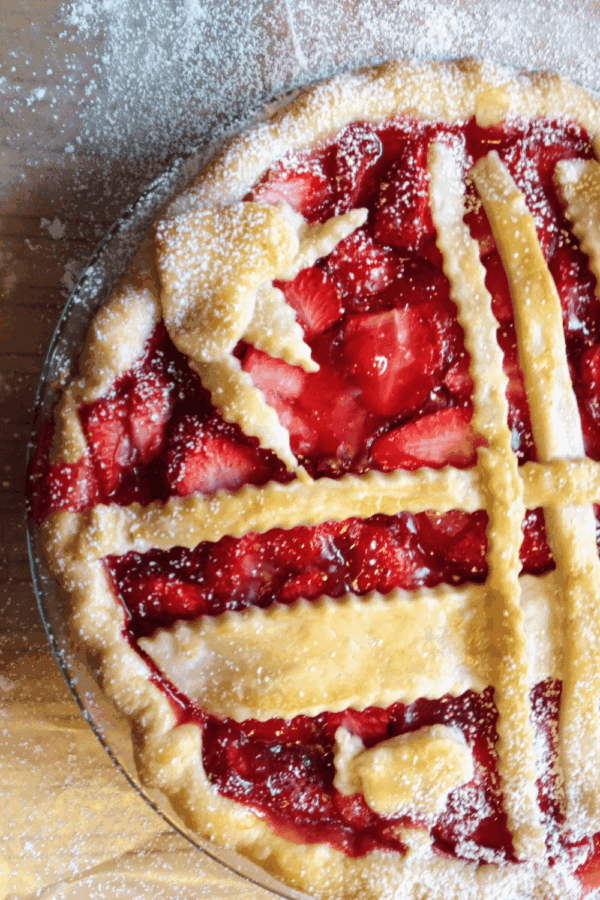
What to Make With this Pie Crust
These are some of my favorite pie recipes using our delicious perfect flaky pie crust. I even put in a savory pie recipe for you to try! 💛


Common Questions About Perfect Flaky Pie Crust
How many pie crusts does this recipe make?
The recipe makes four 9″ pie crusts. Adjust the pie dough to your pan. If you are using a deep dish pie pan – 10″ or 12″ that will probably take up half of the pie dough, with enough left over to make a lattice top or decorate.
Can I use this crust for both sweet and savory pies?
Yes you can, it’s perfect for either. I love to use this pie crust for my Broccoli Quiche recipe.
Do I need to grease the pie plate?
Yes. Even though the pie has lots of fats in it (butter and shortening) you should always grease your pie plate. You can use either butter or shortening. Baking spray will work as well.
Final Thoughts
Homemade pie crust takes a little practice, but it is one of those baking skills that gets easier every time you do it. Once you understand how the flour, cold fats, ice water, and gentle handling work together, the whole process starts to feel much less intimidating.
This is the pie crust recipe I come back to again and again for both sweet and savory pies. It doesn’t have to look perfect to be wonderful — a golden, homemade pie crust always brings something special to the table.
Grandma Judy
Judy Kahansky
Judy Kahansky is an experienced writer and baker, creating delicious desserts (including pie!) for over 40 years. She loves to take classic and vintage recipes and update them to fit the busy lives of her readers. When not baking, Judy and her husband Mark are passionate golfers, enjoy the simple life, and are travelers and dog lovers, spending as much time as they can with their sweet pup Ruby.